

3D Printer Academy
Mini-Golf | Print-A-Panel
Mini-Golf | Print-A-Panel
Couldn't load pickup availability
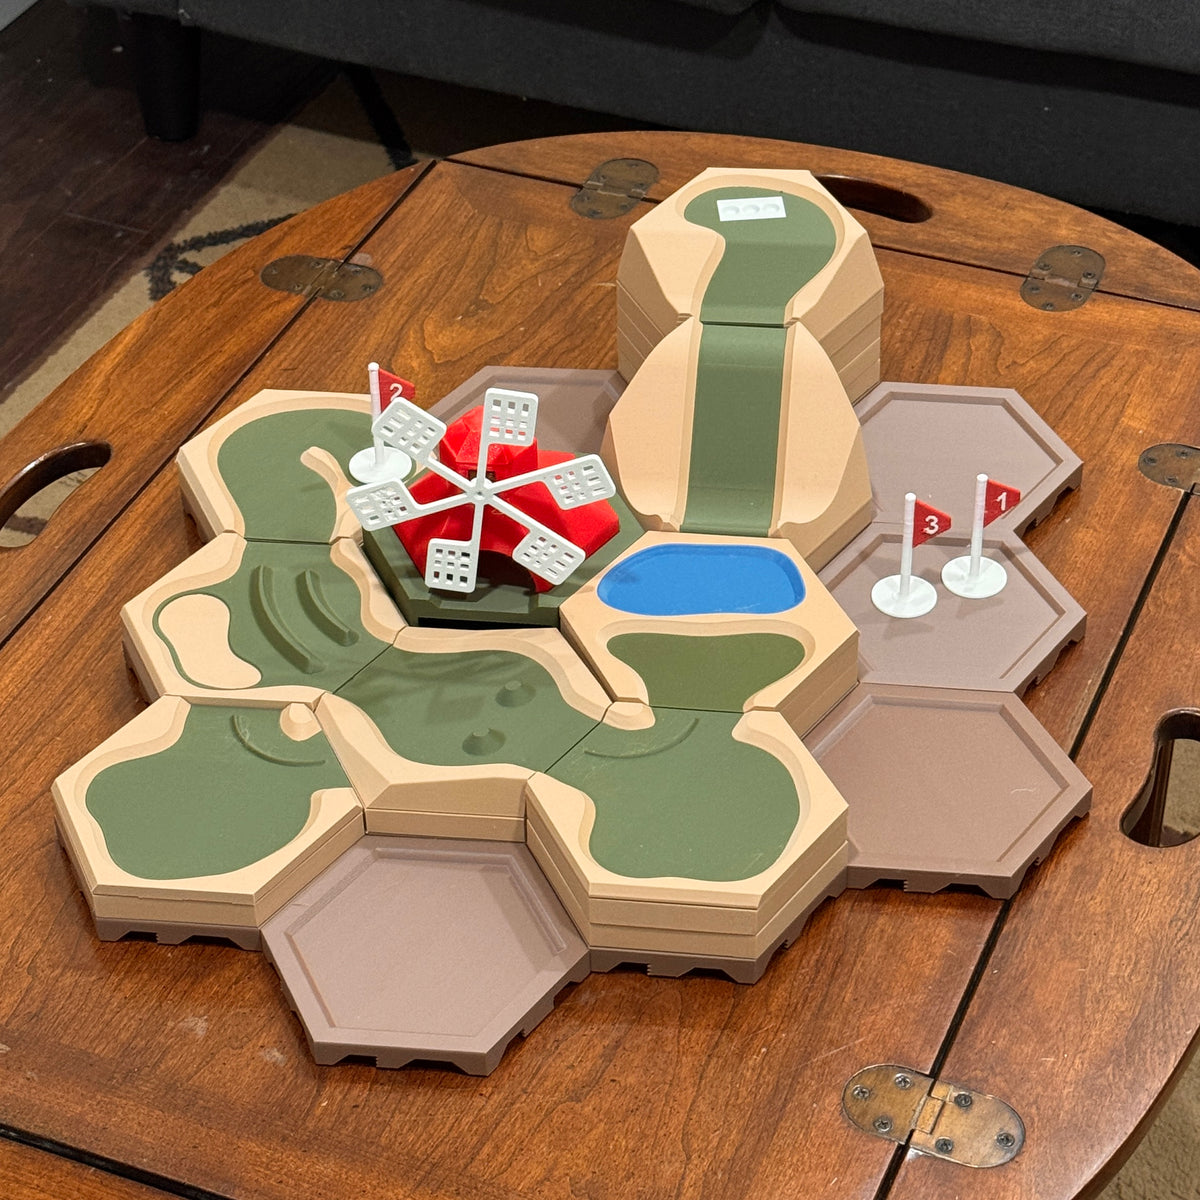
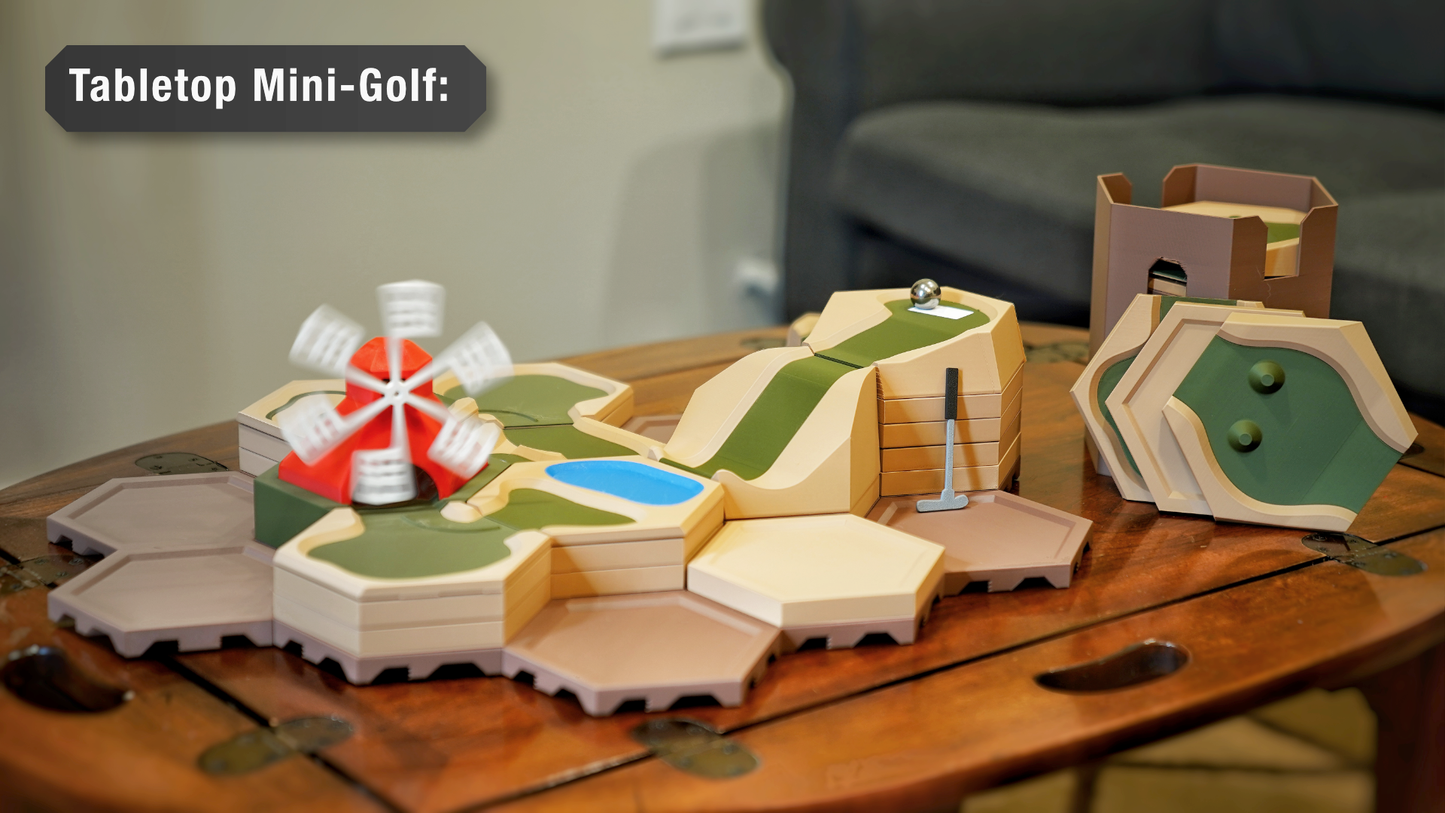
Instructions: 3D print and connect the base panels with the screw caps, and stack the golf panels on top.
Small parts - adult supervision required
Pro Tips:
- Many of the STL files are designed to be printed in multi-color. In your slicer, right-click on the object and select "Split into Parts," then select the color for each part.
- Print-A-Panel is designed for bulk 3D printing. Use the auto-orientation feature in your slicer to print the panel without supports in the vertical orientation. This way, you can print multiple panels at once to minimize print jobs.
- There are two different screw caps for the panels: one for the square panels and one for the hex panels. The threads are multi-start threads, which means any panel side can connect with any other panel side. Sometimes the threads can be a little tricky to start.
- Use a tool changer 3D printer for significantly faster multi-color 3D printing.
Print Settings:
- We recommend printing all STL files at extra draft layer height, approximately 0.28mm.
- Use 5%-15% cubic grid infill.
- Print with an "outer brim" for better build plate adhesion.
Share