Step 1: Finding the Best 3D Printer
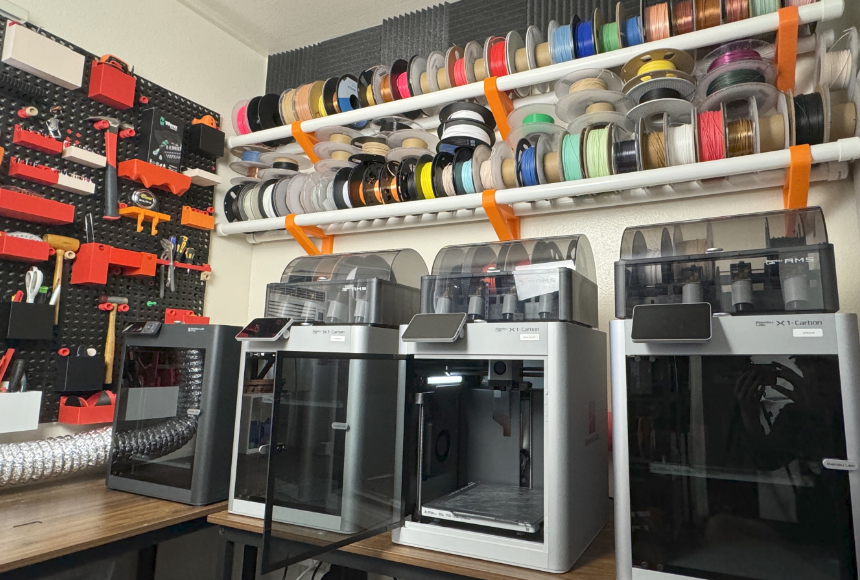
There are tons of different 3D printers to choose from, but as of writing, there is one printer company that stands far above the competition, Bambu Lab. ("lab" is singular, there is no "s"!)
Bambu Lab has shaken the 3D printing industry to its core and recently introduced a wide range of very reliable and easy-to-use 3D printers for every budget. Before Bambu Lab, most 3D printers required manual calibration, extensive assembly, and frequent repairs.
If you want an alternative to Bambu Lab, consider the Creality K1, although I've found it to be less reliable and the build quality isn't as good.
So, which Bambu Lab 3D printer should you get?
- If you want a low-budget, high-quality 3D printer that doesn't take up too much physical space, consider the Bambu Lab A1 Mini. (Not the combo) This printer requires almost no assembly and is extremely easy to use.
- If you want to affordably 3D print in multiple colors and have an enclosed 3D printer capable of printing larger items, I would recommend the Bambu Lab P1S Combo.
- If you want the best of the best, a printer that can print advanced materials, has advanced calibration, and a nice touchscreen control panel, I would recommend the Bambu Lab X1-Carbon Combo.
Step 2: Setting Up Your 3D Printer
Luckily for you, 3D printers (especially Bambu Lab 3D printers) are very easy to set up nowadays. Simply follow the instructions provided. It should be fairly straightforward.
What material should you print with?
The printing material for 3D printers is called filament. The easiest material to print with is called PLA, which is a soft plastic with a low melting point. Usually, 3D printers come with a small sample of PLA that you can use initially. If you decide to go with a Bambu Lab 3D printer, I would suggest using Bambu Lab PLA filament for the best results. Alternatively, I've found good success printing with Sunlu filament, which is much cheaper.
Usually, the first thing people print is 'Benchy,' a tiny tugboat that is used as a benchmark to test if a 3D printer is working properly.
Step 3: Finding 3D Models to 3D print.
Using Existing 3D models:
3D models for 3D printing are usually in STL format, so we call them 'STLs' or 'STL Designs'. An STL is a standard format for digital 3D models, similar to how JPEG is the file format for images.
You can find many websites that have STL designs for download, including my personal designs hosted on this site! Some STLs are free, while others are paid. Popular sites include Thingiverse, Cults3D, and of course, 3D Printer Academy.
Creating Your Own 3D Models:
The true power and freedom of 3D printing is unlocked when you are able to design your own 3D models. However, depending on what you are designing, it could either be relatively easy or very difficult.
My favorite, and go-to, program for designing things for 3D printing is Fusion 360, especially for practical prints. It is free, and despite being a professional software, very easy to use. (You can see some of my practical prints on my 'Practical Prints' YouTube channel.)
Fusion 360 is free for personal use, but you do have to create an account. Also, very important, don't sign up for the free trial! There is an actual free version, simply search 'Fusion 360 free for personal use' on Google. Or go here: Fusion 360 Personal Use.
I have some free how-to videos on my 3D Printer Academy Tutorials Youtube channel as well as my most popular course, Fusion 360 Masterclass.
Alternatively, I often design things in Blender, a free and open source 3D modeling program, however, Blender has a much steeper learning curve. My second most popular course is my Blender Masterclass.
Step 4: Printing!
Nowadays there are two ways to 3D print STL files:
Printing from a mobile app:
Many 3D printing companies, such as Bambu Lab and Creality have phone apps that you can print from. This is the easiest way to print, however, you have less control over the print settings.
Simply find an object to print, select your printer type, and click print.
Printing from your computer:
Printing from your computer gives you the most control over the 3D printing process and print settings. To print from your computer, you need to use a 'slicer'. A slicer takes an STL and literally slices it into thin layers that your 3D printer will print. Simply download the slicer for your 3D printer; if you are using a Bambu Lab 3D printer, the slicer is called Bambu Studio.
Bambu Studio allows you to connect to your 3D printer via the cloud or locally through your WiFi.
Once you've downloaded the slicer and connected it to your printer, simply drag an STL design onto the virtual build plate. Usually, the default slicer settings are fine, but some objects will need supports to print overhangs. You can delve deeply into learning all of the slicer settings, but the most important ones are:
Layer height - the resolution/quality of your 3D print. Bigger layer heights print faster, but you'll be able to see the layer lines.
Supports - this is a checkbox that you'll need to select if your object has large overhangs. Usually, the slicer will warn you if you need to turn supports on.
Wall loops - 3D printed objects are usually hollow with some structural 'infill'. Adding more wall loops will make the sides of your object thicker and will increase the strength of the object.
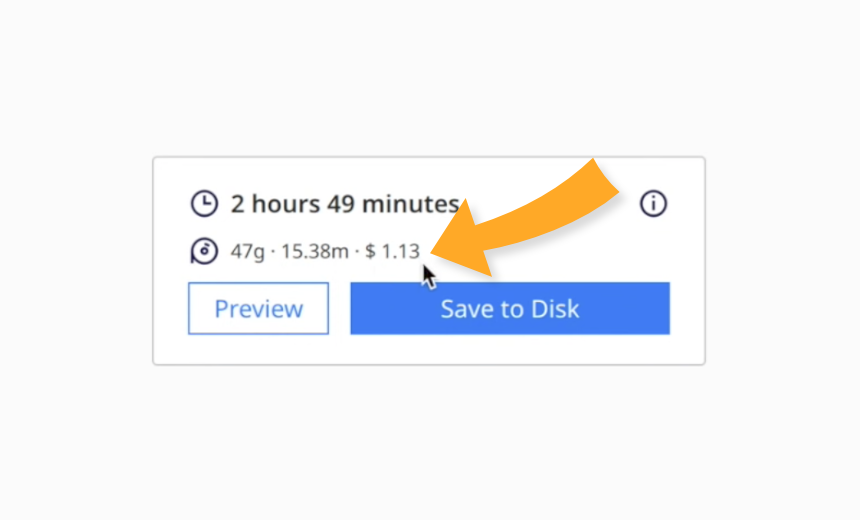
TL;DR - Drag the object onto the virtual build plate, adjust settings if needed, click 'slice', and then click print.
Conclusion
I hope this guide helps you on your 3D printing journey. If you need additional help check out my Tutorials Youtube channel as well as the other articles on this site and my comprehensive courses.
Best of luck and happy printing!
-Steven
Owner
3D Printer Academy