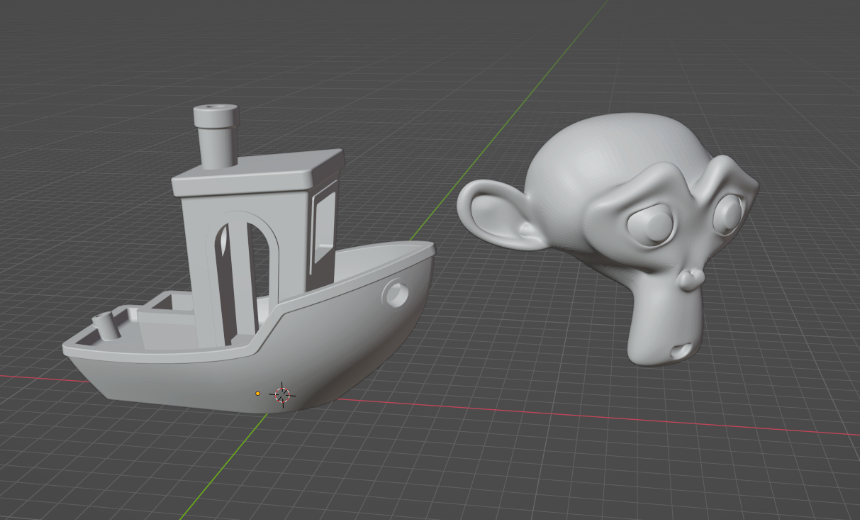
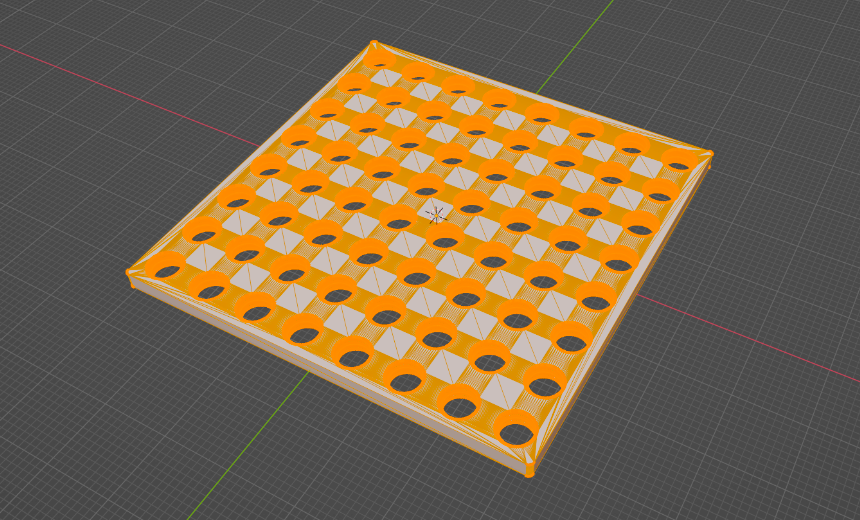
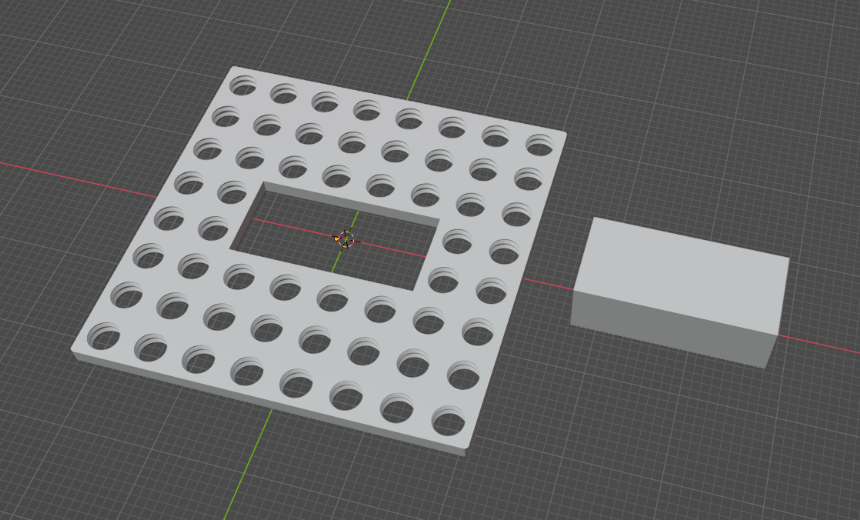
Step 1: Import your STL file.
See detailed instructions here
Step 2: Go into Edit Mode.
In Blender, Object Mode allows you to move, scale, rotate, and apply modifiers to the object. Edit Mode, on the other hand, lets you modify the vertices, edges, and faces of an object. To round a corner of an object, we need to be in Edit Mode as well as edge selection mode. In Edit Mode, there are three selection modes: Vertex, Edge, and Face.

Step 3: Select the Edge(s) You Want to Round
To round an edge in Blender, you'll utilize the bevel tool. Begin by selecting the edge(s) you wish to round. Next, locate the bevel tool in the quick tools panel on the left side of the screen. This tool is represented by an icon resembling a hut or house with a slightly tapered roof.
Once selected, drag the yellow handle to create a bevel. To make the bevel round, open the bevel settings panel on the bottom left. Here, you can add more segments to transition the edge from a chamfer to a more filleted or rounded corner. The more segments you introduce, the smoother the result will be.
Familiarizing yourself with the bevel tool may require some practice, so if you encounter issues, don't hesitate to press Ctrl+Z to undo any mistakes.


