This article will walk you through ten design tricks for 3D printing that everyone should know.
3D Printed Threads
3D printed threads can be modeled very easily with one of the most popular CAD programs out there: Fusion 360 - a simple, easy-to-use CAD program which is free for personal use!
3D printed components can be connected together securely with the help of these threads - this is definitely one of the best ways to connect 3D printed parts together.
C-Clip
Credit has to be given to Jay at JBVCreative for this one - You can use these 3D printed C-Clips to securely attach anything to an axle - whilst taking up very little space!
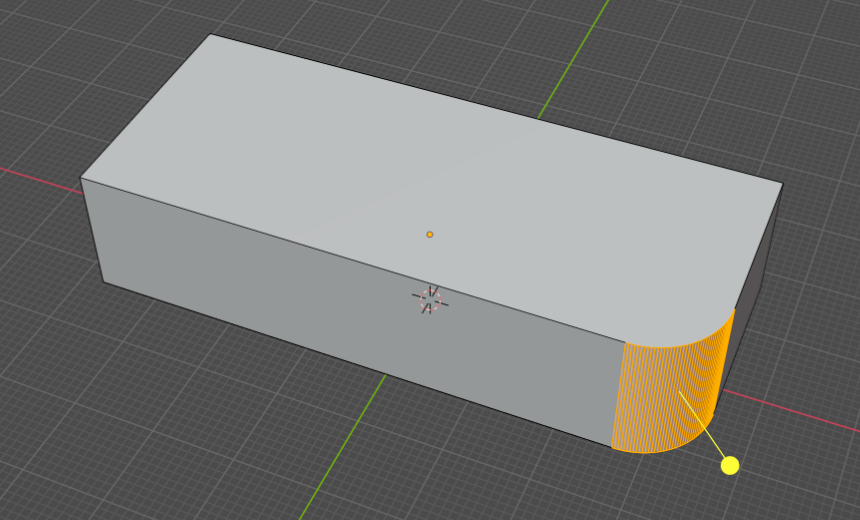
Modeling Holes for Extra Strength
You can use this design trick to force your slicer to make your parts stronger. Adding a hole to the part seen above forces the slicer to add extra walls to support it, resulting in a far stronger component.
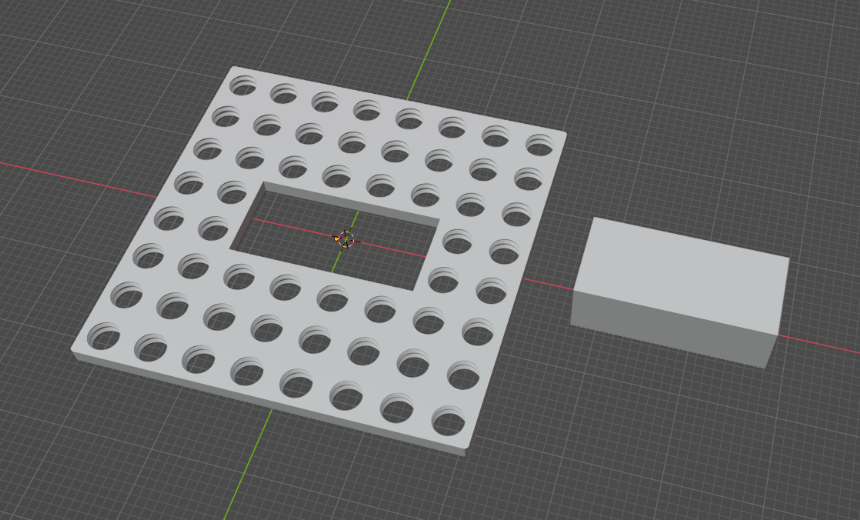
Clearances:
When you’re printing two parts that need to fit into each other, it’s important to tolerance them to account for printing inaccuracies.
The space needed can vary from printer to printer, but a good rule of thumb/starting point is 0.4mm of space between parts.
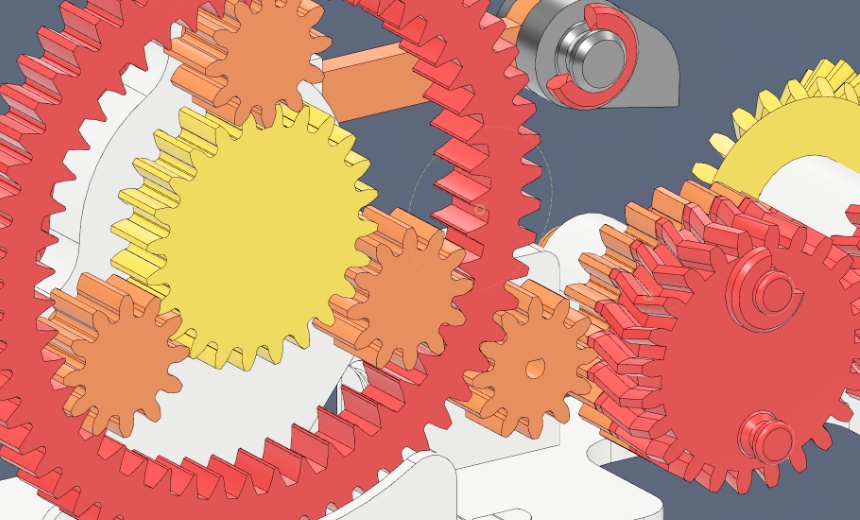
Gears
Did you know you can create your own gears in Fusion360? Installing the “SpurGear” Add-in will give you the ability to model gears to your own specifications - which can then be 3D printed.
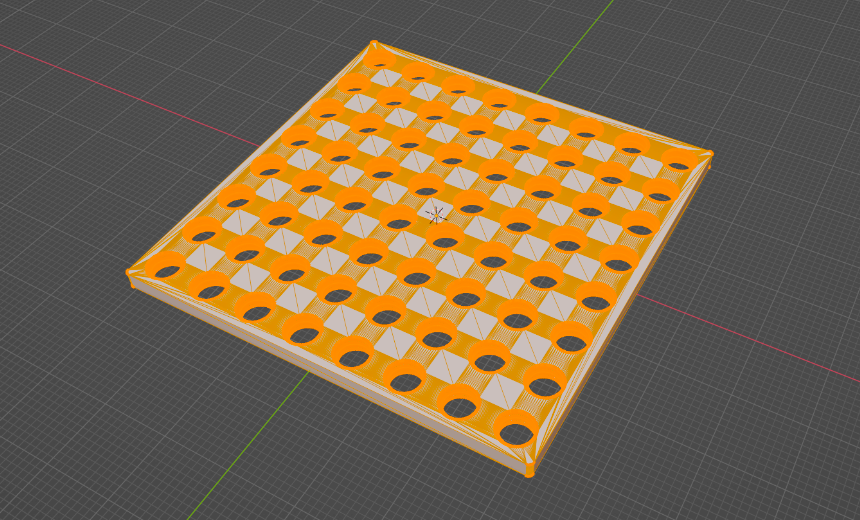
Lightning Infill
Let’s say you’re wanting to print a large part as a display piece - because of its size, it will take a long time to print and use a lot of material. To reduce these problems, you can use lightning infill. This slicer setting will allow you to print your part with the lowest amount of filament possible - greatly reducing print time.
However, lightning infill is not recommended for functional parts as it does not produce very strong components.
Tree/Organic Supports
You can further reduce the print time and amount of filament used by using tree supports. Additionally, they are a lot easier to remove and cause less damage to the print.
Bridging
If an overhang is perfectly horizontal, it may not need any support at all. If you have a good part cooling setup on your printer, you will be able to “bridge” across large distances without the plastic sagging.
Print-in-Place Hinges
One of the advantages of a 3D printer is that you can create parts that would otherwise be impossible to make - like a print-in-place hinge. You can find in-depth instructions on how to design one of these in my Fusion 360 Masterclass course.