So you want to design your own things? Well you've come to the right place. In this article, you'll learn everything you need to know to design your own things from scratch using Blender.
Blender is an open-source 3D modeling program with a wide range of powerful capabilities available, all for free. Using Blender you can essentially design anything. wether its a specialty jig for a construction project of DnD figures for game night. You can read more about the history of Blender here.
Step 1: Download Blender
Step 2: Familiarize Yourself with the User Interface:

1. Main Viewport: This is the main area where you will be designing objects.
2. Object Browser: Organize objects and toggle visibility of objects.
3. Properties: Apply modifiers, materials, and render settings.
4. Object / Edit Mode: Object Mode is where you can move, scale, and rotate objects in the scene. Edit Mode is where you can edit individual objects by adding / moving vertices, edges, and faces.
5. Workspaces: Choose a default workspace to work in. Layout, Sculpting, and Shading are the most useful for designing things for 3D printing.
6. Tools: Easily move, scale, and rotate objects in Object Mode. Tools for modifying meshes are available in Edit Mode.
7. Animation Timeline: If you want to animate your scene. (Not applicable for 3D printing)
8. Default Cube: Objects in Blender are made up of vertices (points), edges, and faces. You can edit the mesh in Edit Mode. 9. Light: Lights are used for lighting up a scene for 3D rendering. They are not needed for designing objects for 3D printing. 10. Camera: The camera is used for rendering the scene. It is not needed for designing things for 3D printing.
Step 3: Know the Difference Between Object Mode and Edit Mode
Object Mode is where you can move, scale, and rotate objects in the scene.
Edit Mode is where you can edit individual objects by adding / moving vertices, edges, and faces. Switch between Object Mode and Edit Mode by click the dropdown menu on the top left of the screen


Step 4: Adding and Deleting Objects
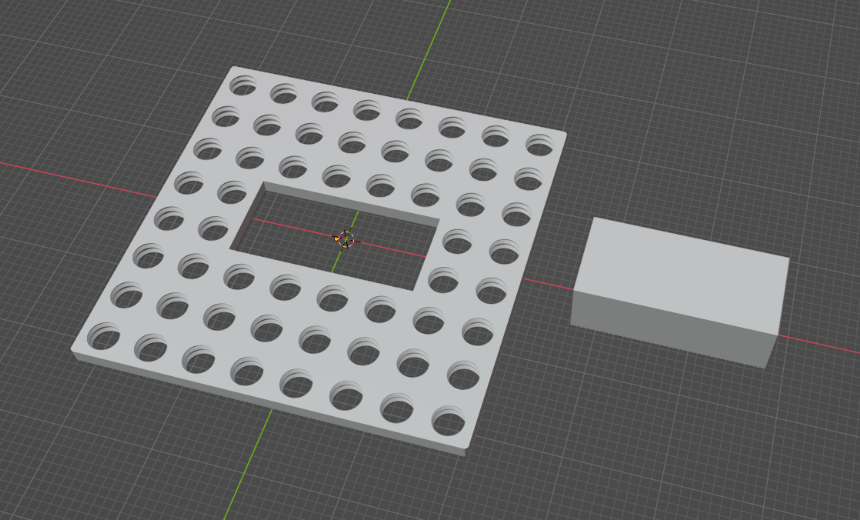
To delete an object in Blender simply right click on the object (in object mode) and select delete. When starting a new design it is often convenient to start with simple shapes and modify them by moving their point, edges, and/or faces. To add an object, click the "Add" dropdown menu and choose a mesh:


Step 5: Editing Objects/Meshes
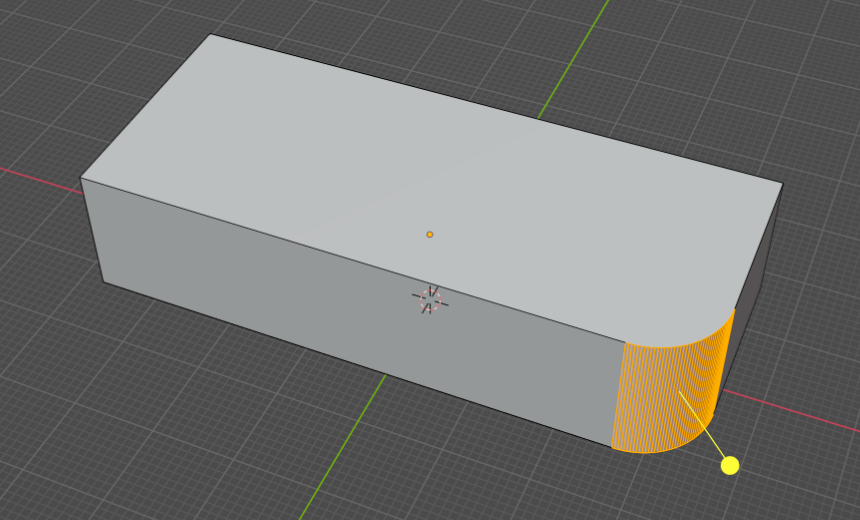
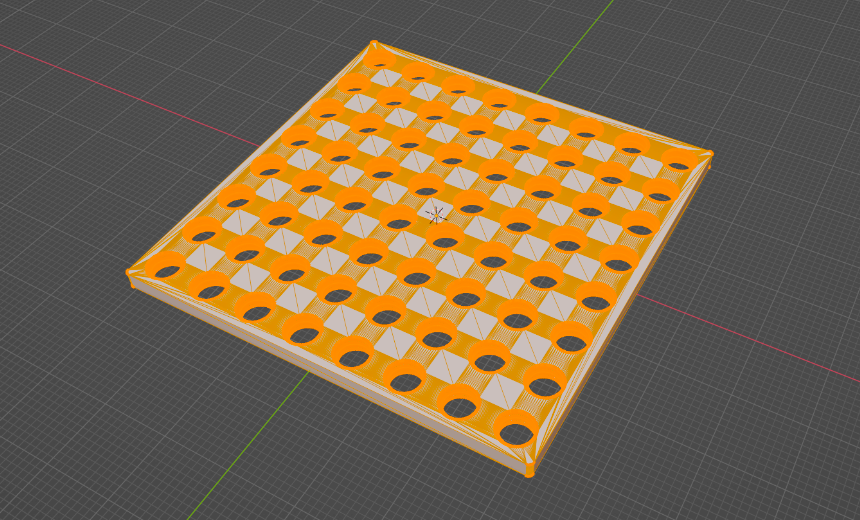
Once you have added a new mesh to your scene, you can edit the object (in Edit Mode) using a variety of tools such as Extrude, Inset, Bevel, Loop Cut, Knife, as well as manually editing the mesh by moving, scaling, and rotating vertices, edges, and faces.
----more coming soon