3D printing is an exciting and rapidly growing field, and Fusion 360 is one of the most powerful and accessible tools for designing 3D models for printing. In this article, we'll guide you through the step-by-step process of creating a 3D model in Fusion 360, exporting it as an STL file, slicing it, and sending it to your 3D printer for printing.
Step 1: Install Fusion 360
Before you can start creating 3D models in Fusion 360, you need to download and install the software. Fortunately, Fusion 360 is a free software available for download on Autodesk's website. By installing Fusion 360, you will have access to powerful tools for designing and modifying 3D models. (Free personal use version: https://www.autodesk.com/products/fusion-360/personal)
Step 2: Create a new design
Once you have installed Fusion 360, you can start creating your first 3D model. Start by creating a new design, and choose the type of design you want to create, such as a part or an assembly.
Step 3: Sketch your design
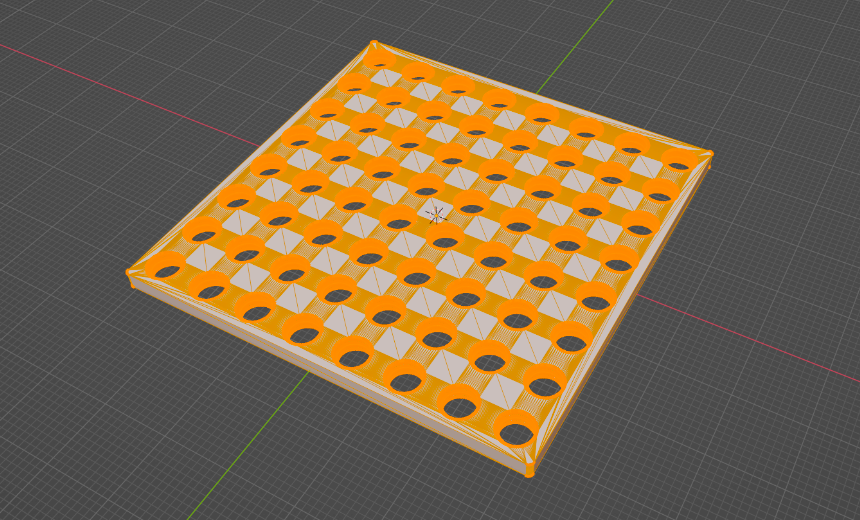
After you have created your new design, you can start sketching your 3D model. You can use the sketch tools in Fusion 360 to draw shapes and lines that will make up your 3D model. With Fusion 360's intuitive sketching tools, you can quickly and easily create 2D sketches that can be extruded into 3D shapes.

Step 4: Extrude your design
After you have sketched your design, you can extrude it to create a 3D model. The extrude tool in Fusion 360 allows you to turn your 2D sketch into a 3D shape. By using the extrude tool, you can easily create complex shapes and designs that are ready for printing.

Step 5: Refine your design
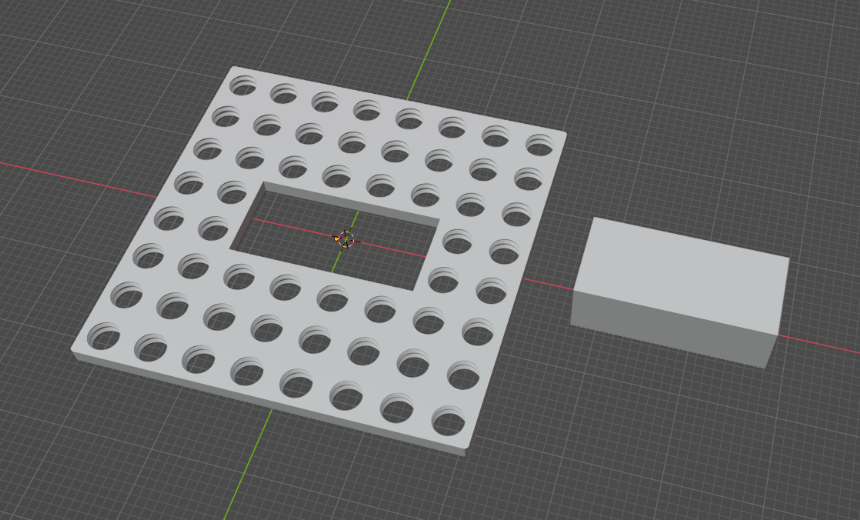
Once you have extruded your design, you can refine it by adding details, fillets, chamfers, and other features. You can use the various tools in Fusion 360 to manipulate and modify your design until it looks the way you want it to. By refining your design, you can create more complex and intricate 3D models that are ready for printing.

Step 6: Export your design as an STL file
After you are satisfied with your design, you can export it as an STL file. The STL file format is the standard file format used for 3D printing. To export your design as an STL file in Fusion 360, go to File > Export > STL.
Step 7: Import your STL file into a slicer software
After you have exported your design as an STL file, you need to import it into a slicer software. A slicer software takes your 3D model and slices it into layers that the 3D printer can print. There are many slicer software options available, such as Cura or Bambu Slicer.

Step 8: Slice your design
Once you have imported your STL file into the slicer software, you can slice it. This process involves choosing the right settings for your 3D printer, such as the layer height, print speed, and infill density. The slicer software will generate a G-code file that contains instructions for the 3D printer.

Step 9: Send your sliced file to the 3D printer
Finally, you can send your sliced file to the 3D printer for printing. You can do this by connecting your computer to the 3D printer with a USB cable, or by using an SD card or Wi-Fi connection. Once the 3D printer has received the file, it will begin printing your 3D model layer by layer.
If you're looking to master Fusion 360 and take your 3D modeling skills to new heights, look no further than my Fusion 360 Masterclass. As a seasoned designer and Fusion 360 expert, I've created a comprehensive online course that covers everything from the basics to advanced techniques. With a focus on practical skills and real-world examples, you'll learn how to create complex designs, optimize for 3D printing, and more. Plus, with access to a supportive online community and personalized feedback, you'll have the resources you need to succeed.

Whether you're a beginner or experienced designer, my Fusion 360 Masterclass is the ultimate way to level up your skills and take your designs to the next level. Enroll now and start your journey towards becoming a Fusion 360 pro!