Complete Beginner's Guide to Autodesk Fusion 360

(22 minute read)
Everything you need to know to get started designing your own things using Autodesk Fusion, which is free for personal use, including a full example project for 3D printing. Jump start your learning with this complete guide to Fusion 360 and get to making your own stuff right away.
Learn to design practically anything with our Fusion 360 Masterclass.
Downloading the Free Version of Fusion
You can download the free personal use version of Autodesk Fusion here. You'll need to create an account and verify your email. After going through the install process, you'll be prompted to sign in again, and it'll ask you a few more things.
In 2025, Autodesk Fusion is really pushing their Hubs feature. It basically allows you to collaborate with a team, but for individual users, it doesn't really matter.
When you open Fusion for the first time, it'll look something like this.

Go ahead and click "New." I personally think they've over-complicated opening Fusion for the first time for new users. There are too many popups, and I know they're trying to help, but it's a little bit confusing. Go ahead and browse through the helpful panels if you want, but I'm just going to close them and show you exactly what you need to know right away.
Save System / Saving Designs
Here we are in an empty new design. Before we create our first design, it's important to know the save system for Fusion. Up here on the top left, you'll see the data panel, and here's where you'll see all of your projects.

For example, if I click "New Project," we can name the project "Project One," and in the project, you could have multiple designs. To save our empty design, simply go up to File and go to Save. We could save this design in a location, so if you click this dropdown here, you can see we have our new project that we just created, "Project One."

Here's how it works: you basically have a project, and inside of a project, you can have multiple designs. I can call this "Design One" and save it. Now if I go ahead and click "Save As," you'll see if I drop down here in our Project One, there is Design One, and now maybe I could call this "Design 1A" or something like that. So now we have two designs in that project.
Important Note About the Free Version
An important thing to note with the free personal use version of Fusion 360 is that you can only have 10 live or editable documents at a time. You can have more than 10 documents, even though it makes it seem like you can't, but you actually can.
If I have 10 designs that I've created, and I try to create a new design, you'll see it says "Read-only document limit has been reached." What you have to do is go to one of your old documents and change it from editable to read-only, and you can always change it back to editable again in the future.
Example Project Introduction
I think the best way to learn Fusion 360 is to go through a quick and easy example project. In this project, we'll be creating a 3D printable phone stand.
Moving Around the Viewport
What we're looking at here is the viewport. This is where we're going to create objects. On the top right here, we have the View Cube. You can use that to rotate the view around like so. You can just click on it like this, or you could pan by using the middle mouse button. Hold Shift and the middle mouse button to rotate the view, and you could use the scroll wheel or your trackpad to zoom.

Two Ways to Approach Creating Objects
In Fusion 360, there are two ways that we could create a three-dimensional object:
1. Create a constrained sketch and then use the extrude tool.
2. Create and combine/cut basic shape primitives.

Export as STL File
Now, for 3D printing, we need to export the file as an STL file. It's really easy to export a single body in Fusion 360. All you have to do is go over here to what it says "Body 3." Actually, let's rename that also to "Phone Stand," and right-click it and click "Save as Mesh."
By default, it's a 3MF. Let's go ahead and switch it to an STL file, and we can even set the refinement settings. Let's go ahead and set to High; that way, these rounded corners look nice. Let's go ahead and click OK.
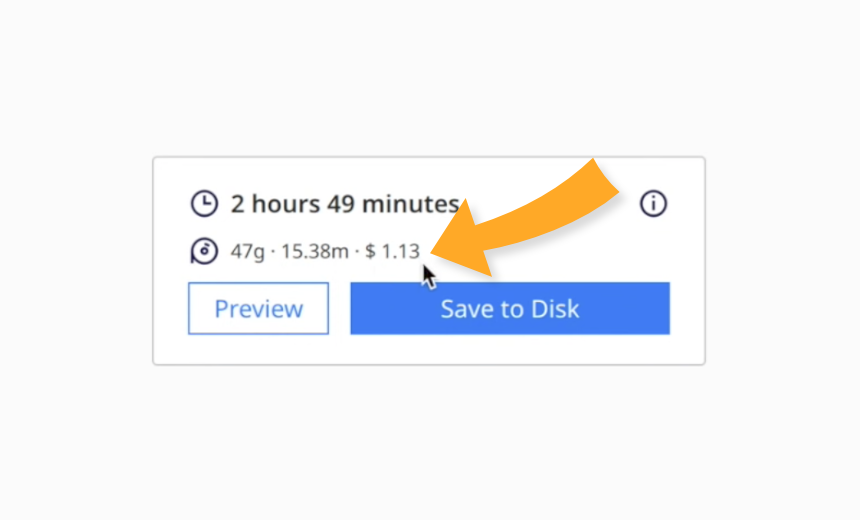
It'll ask where to save it. I'm just going to save it to my downloads and click Save.

Autodesk Fusion Complete Beginner's Guide Video
Want to go more in depth? Check out this video:
I hope you found this helpful. Once again, my name is Steven, the creator of 3D Printer Academy. Go ahead and check out our site, 3DPrinterAcademy.com. We have a bunch of free resources, STL designs, courses, and more.
Thanks for watching, and happy printing!