3D printing is a fantastic technology that turns digital files into real-life objects. This guide will help you understand how to use an "STL" file to create a 3D print, in a way that's simple enough even for a 5th grader.
Step 1: Understand What an STL File Is
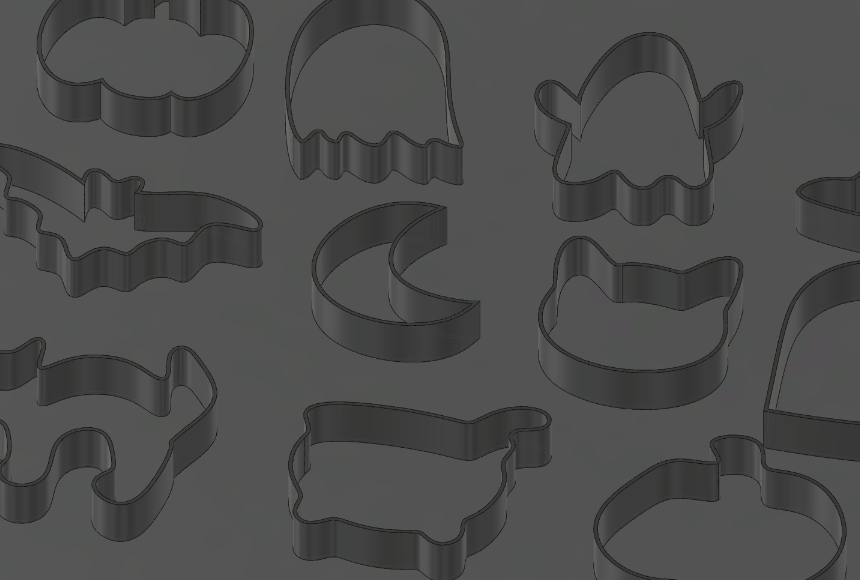
An STL file is like a blueprint for 3D printers. It contains information about the shape of the object you want to print. You can either download STL files for thousands of different objects from the internet, or create your own using 3D modeling software.
Step 2: Prep the STL File with a Slicer
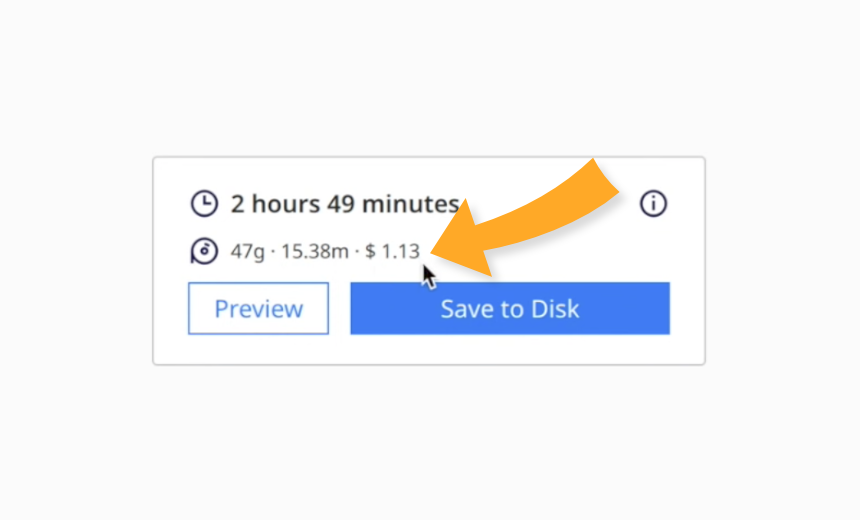
Before you print, the STL file needs to be prepared in a process called "slicing". This breaks down the object into thin layers that the 3D printer can build one at a time. You can do this using free software like Cura, PrusaSlicer, or Bambu Studio. Simply drag the STL file into the slicer program and click slice.
Step 3: Transfer the Sliced File to Your 3D Printer
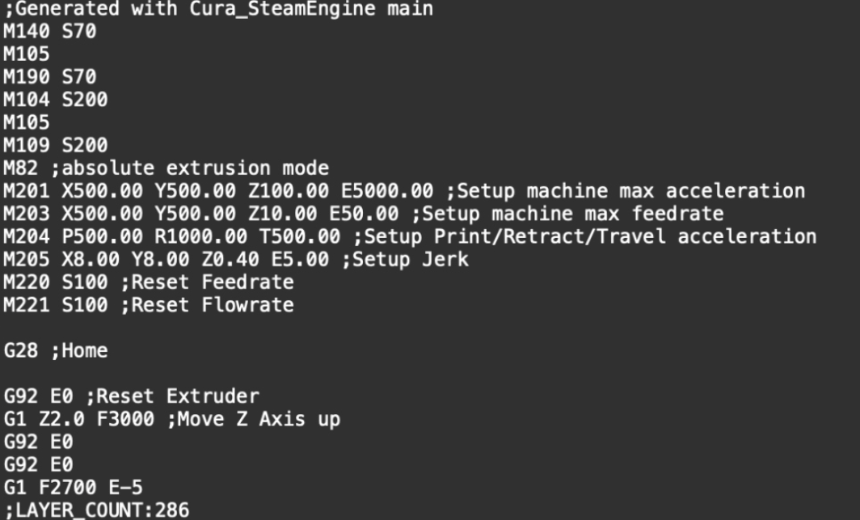
After slicing, save your file (often in a format called G-code). Then, you transfer it to your 3D printer. This can be done using a USB stick, SD card, through a connected computer, or wirelessly through the cloud. For newer 3D printers, such as the Bambu Lab X1 Carbon or P1P, you can simply click print.
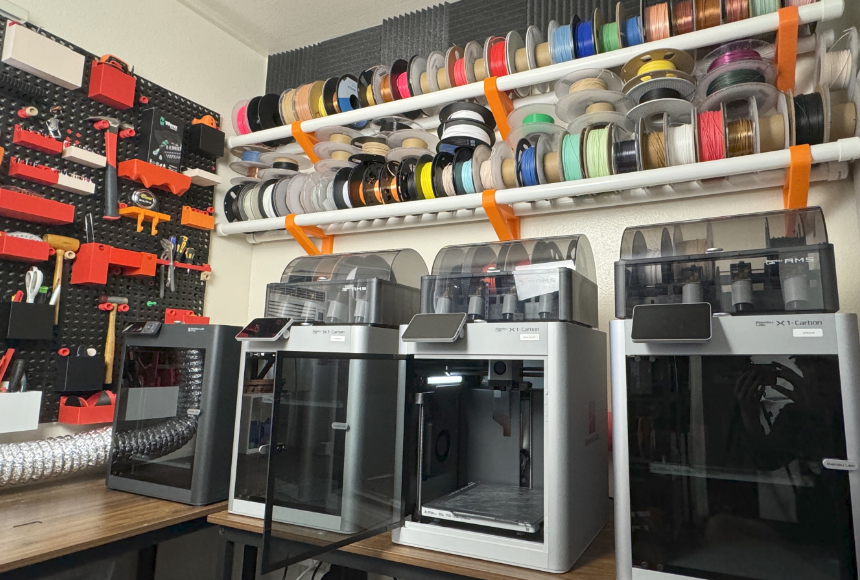
Step 4: Set Up Your 3D Printer
Every printer is a little different, but they all need to be set up before printing. This might involve leveling the printer's bed (the part where your object gets printed), choosing the right type of plastic (also known as filament), and selecting the correct temperature settings.
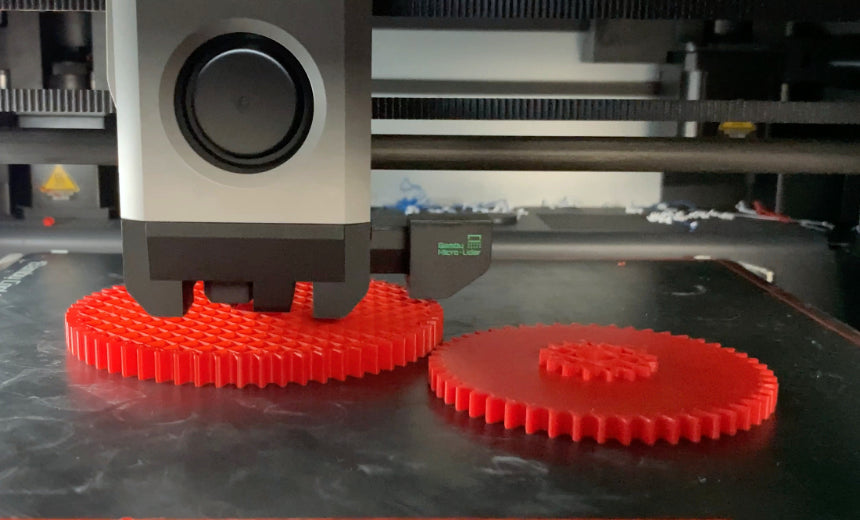
Step 5: Start Printing
Now, you're ready to print. Load the G-code file on your 3D printer and press start. The printer will heat up the filament and begin to lay it down layer by layer, following the instructions from your file. It can take anywhere from minutes to hours, depending on the size and complexity of your object.
And there you have it! Five simple steps to turn an STL file into a real 3D object. Happy printing!
EXAMPLE: