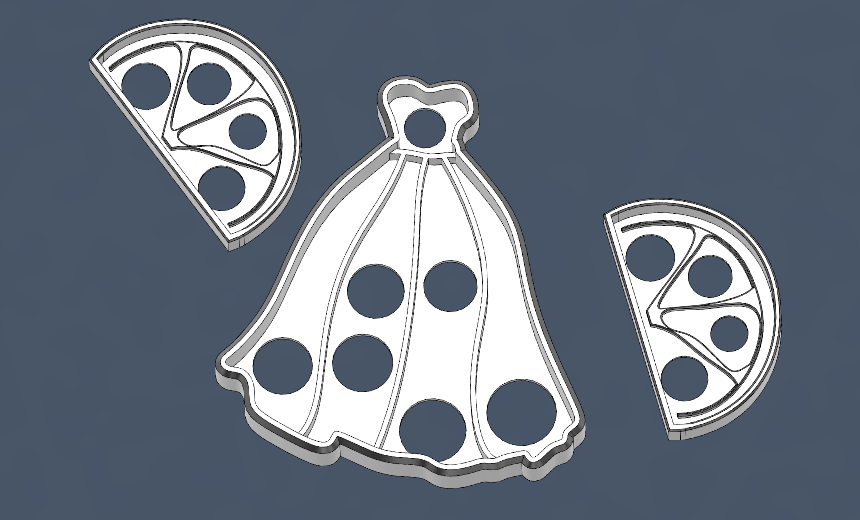
Who wants cookies?! 3D printing is great for creating custom things, and what could be cooler than being able to 3D print your own cookie cutters for that certain special occasion? This guide makes the 3D modeling/design and 3D printing process so easy, even your mom can do it! Let's begin...
- Estimated time to complete: 15-20 minutes
- Fusion 360 for Personal Use (free + download instructions below)
- Slicer of choice: Bambu Studio, Cura, PrusaSlicer
(image source and amazing cookies: https://www.twinklestartreats.com/)
Step 1: Find Your Cookie Cutter Template
Let's say you want your own custom cookie cutters and you're on a time crunch. Luckily, you have a 3D printer in the house, but you're not sure how to use it, and you have no idea how to design a 3D model on the computer, let alone 3D print it. In this guide I'll show you everything you need to know to design and 3D print your own cookie cutter.
Search Google images for an outline of whatever shape you are trying to create. For a Hello Kitty cookie cutter, search 'Hello Kitty outline' and make sure the image you find is a simple outline, similar to the one shown below.

Step 2: Choose an Easy to Use 3D Modeling Program
Now, I know what you might be thinking, especially if you aren't an engineer: '3D modeling and Fusion 360?! Isn't that really difficult and confusing? And isn't Fusion 360 really expensive?'
Designing things in Fusion 360 might be easier than you think, and Fusion 360 is completely free for personal use.
To find the free, personal use version of Fusion 360, search the web for 'Fusion 360 for personal use.' Then, create an account and download Fusion 360.
Step 3: Design Your Custom 3D Printable Cookie Cutter
When you create a new project in Fusion 360 for the first time, it should look something like this. Let's go ahead and insert our reference image. Click the button that says 'Canvas'.

Create the canvas on the ground plane and upload your reference image:

After you upload your reference image, we'll need to create a sketch to help us size the reference image. Click the 'Create a New Sketch' button and create the sketch on the ground plane:

Next, add a center rectangle:

Set the dimensions to whatever you want. For my cookie cutter, I want it to be 100mm x 100mm. Press 'TAB' to switch between length and width. When you are satisfied with the dimensions of the rectangle, press 'Finish Sketch'.

Now, we can resize the reference image canvas by right-clicking on the canvas and selecting 'Edit Canvas'. To switch to the top view, press the top side of the view cube.

Scale the canvas image by dragging the corner of the scale tool. Press 'OK' to save.

Now, we can trace out the shape for the cookie cutter. On the bottom of the screen, double-click on the sketch icon in the timeline.

Select the Spline tool, click to create nodes, and trace the shape. Ensure that the last node connects back to the first node.


Now that we have the shape traced out, we can use the offset line tool to add some thickness. Select the offset tool, click on the outline, set the thickness to 1mm, and press 'OK'.

We now have what is called an area that we can extrude to create a 3D object. Select the area, press 'extrude', and set the height. In my case, I've set the height to be 15mm.


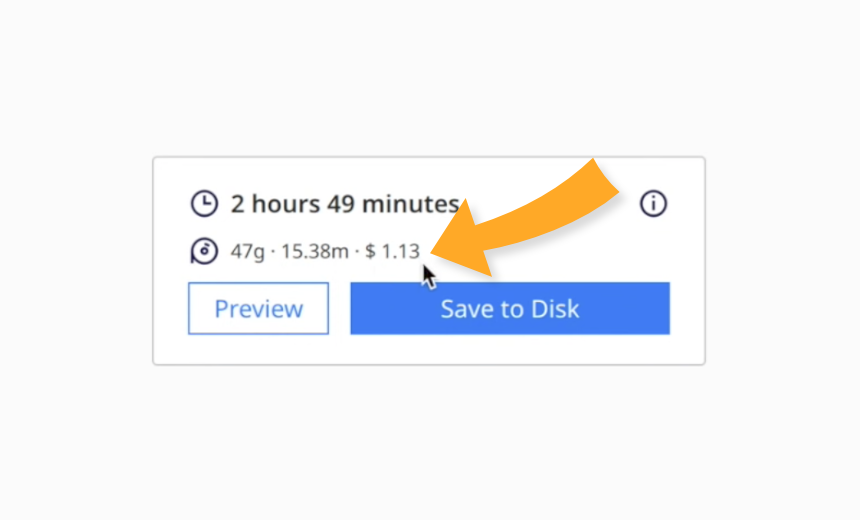
We now have our 3D object! See, that wasn't too difficult, right? In order to 3D print this object, we need to save it as a mesh, drag it into a slicer program, press 'slice', and then press 'print'. (instructions below)

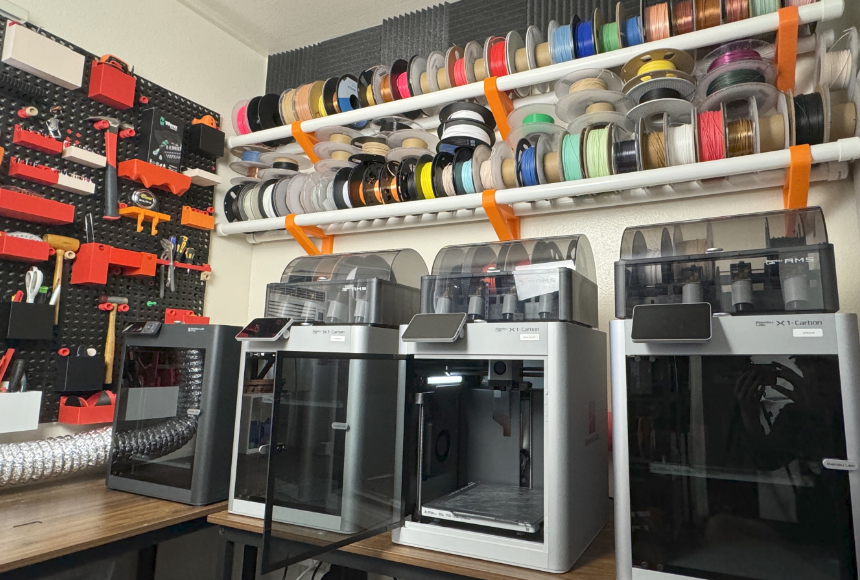
Make sure to save it as an STL file. STL files are the standard file type for 3D models. However, 3D printers can't simply print a 3D model. You have to 'slice' it first. There are many different slicer programs available, such as Cura, PrusaSlicer, or Bambu Studio. In this example, I'm using Bambu Studio because I have Bambu Lab 3D printers.

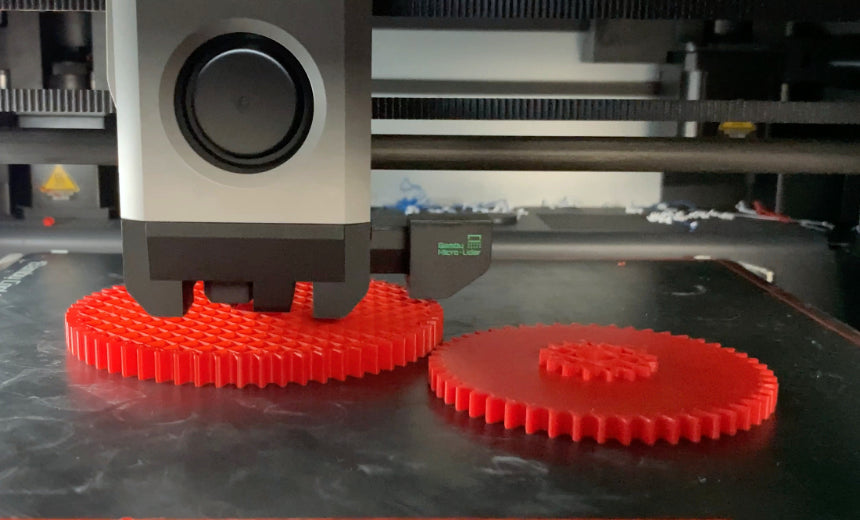
Here, I simply dragged the STL file into Bambu Studio, pressed 'slice', and then pressed 'print'.
That is the complete process from start to finish. If you have any questions or if you get stuck at some point in the process, please reach out, and I'll be happy to help.
Happy printing!
-Steven
Disclaimer: While 3D printed items are not traditionally considered food-safe due to the materials used in the printing process and the potential for microorganisms to harbor in the layers of the print, the brief contact time between the cookie cutter and the raw dough may mitigate this risk. This is further reduced by the fact that the dough will subsequently be cooked. However, it's crucial to thoroughly clean your 3D printed cookie cutters before and after each use. Should you have any concerns about food safety, consider using the 3D printed cutter on a barrier such as cling film or repurpose it for non-food related crafts.