3D printing has reached a point where you no longer need to be tech-savvy to print your own objects. So, if you're not fluent in computers or technology, this guide is for you!
Let's begin with the basics: What is 3D printing? It's a technology that allows you to easily create physical objects. However, there are limitations. Parts must be made of specific materials and may have a distinct "3D printed" look.
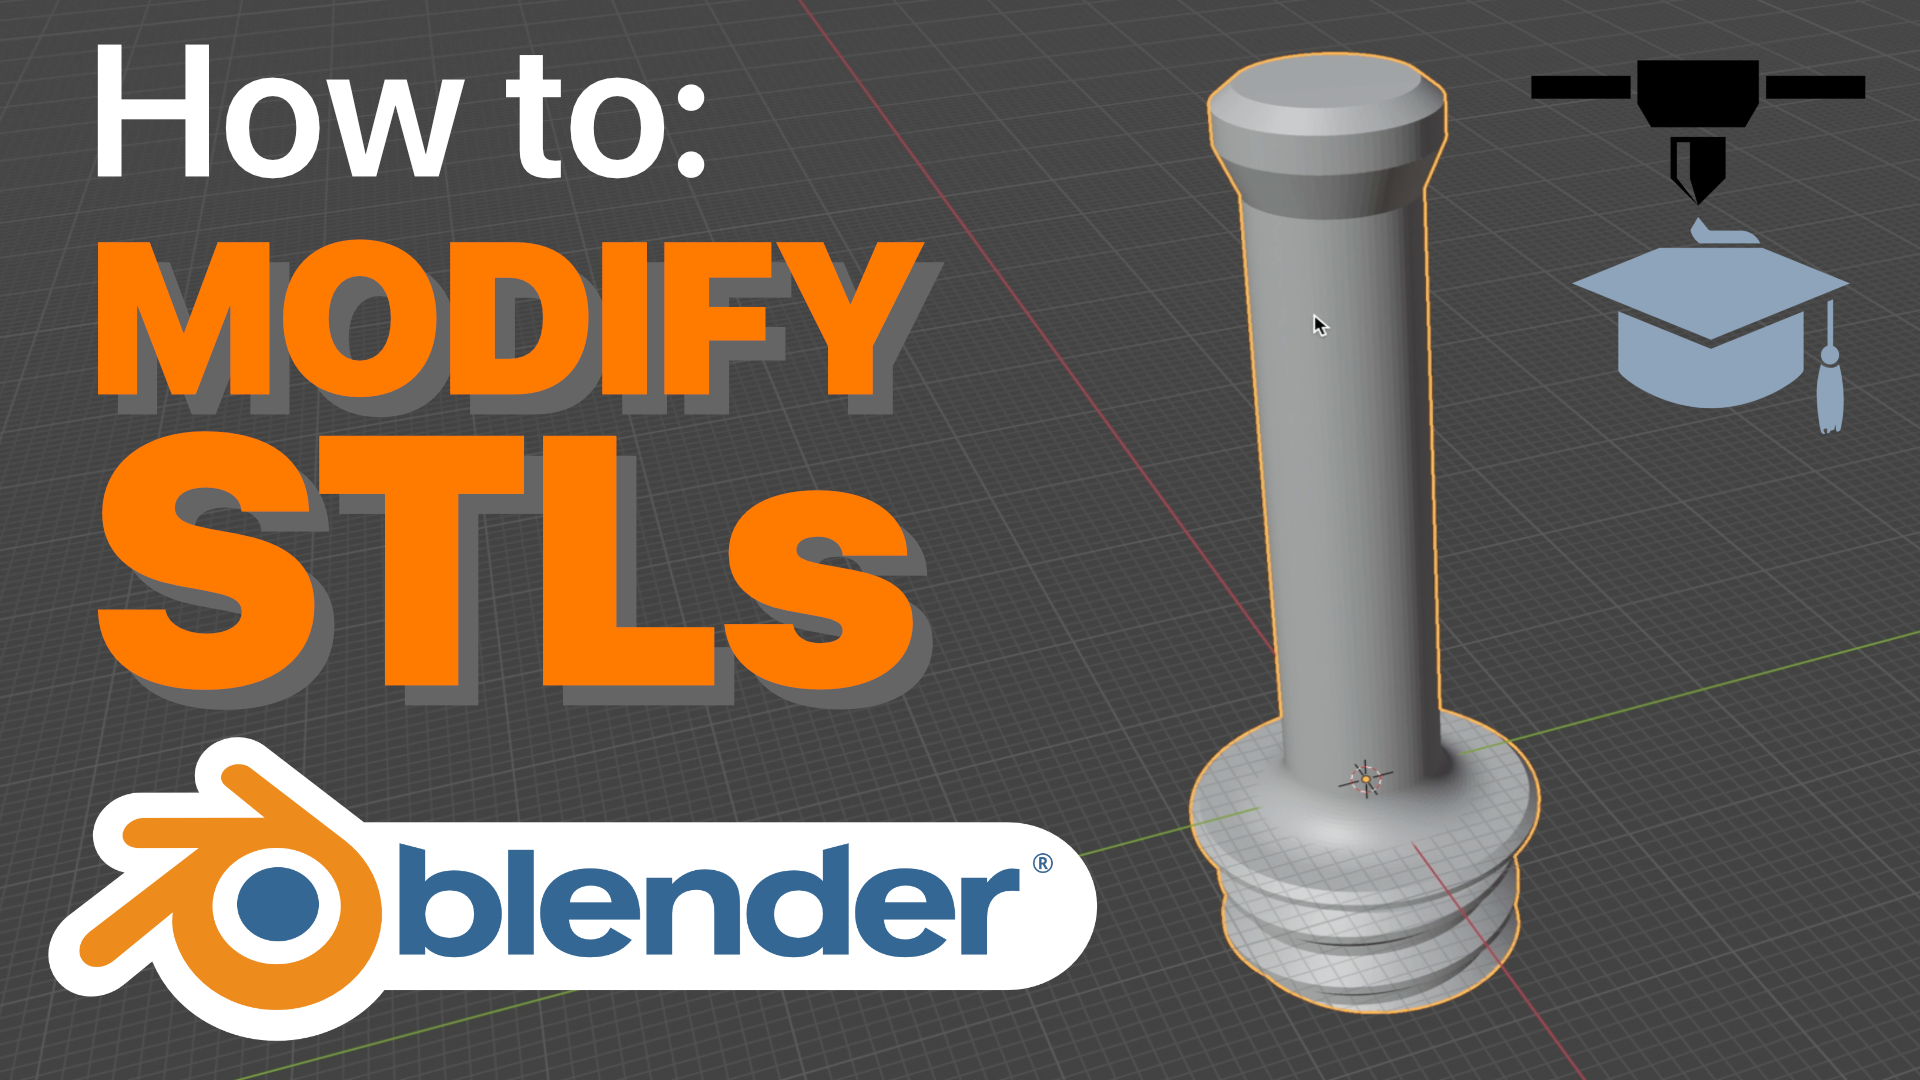
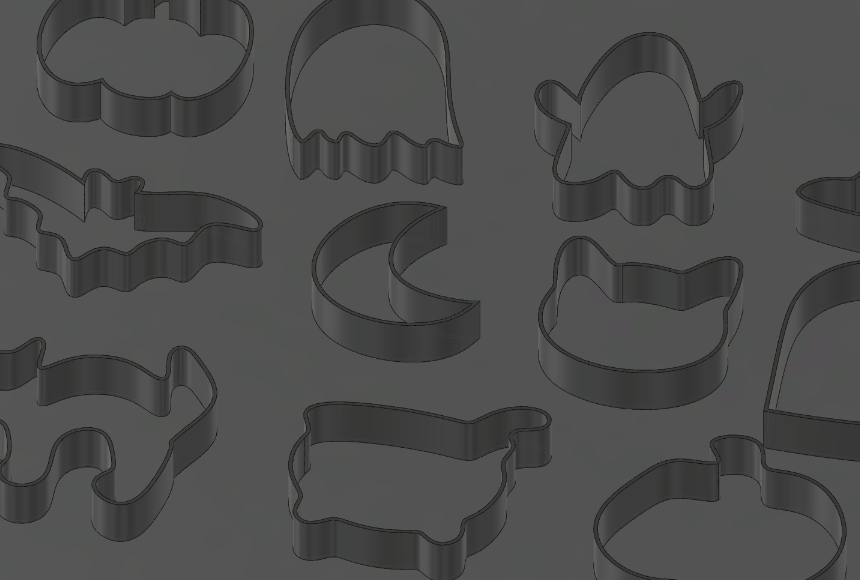
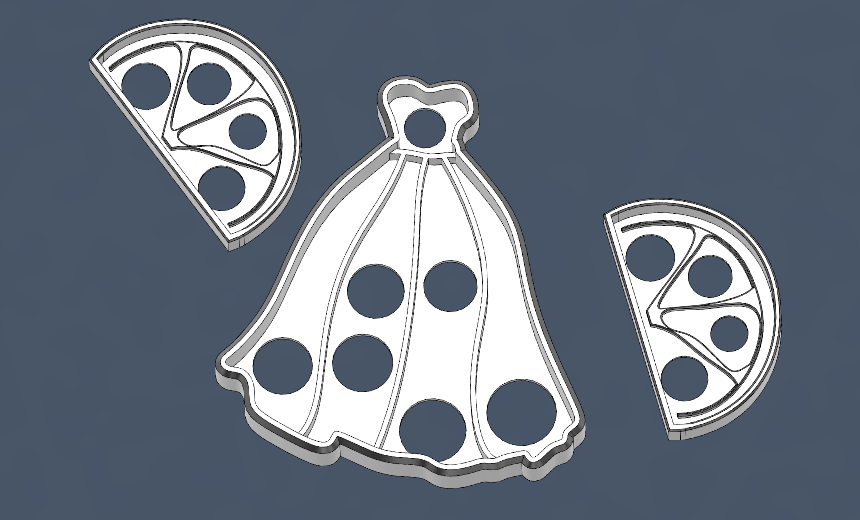
Now, where do you start if you want to 3D print something? First, you need to find an object to print. You can either search for a pre-made 3D model online or design your own using a 3D modeling program like Blender or Fusion 360. Some popular websites for finding 3D models include www.thingiverse.com, www.cults3d.com, and of course www.3dprinteracademy.com.
When you download a 3D model from the internet, it will usually be saved in your downloads folder, or you may receive an email with a link to the file. These files are commonly referred to as STLs because of their .stl extension. For instance, a popular benchmark object is the 3DBenchy, which is often named 3DBenchy.stl on your computer.
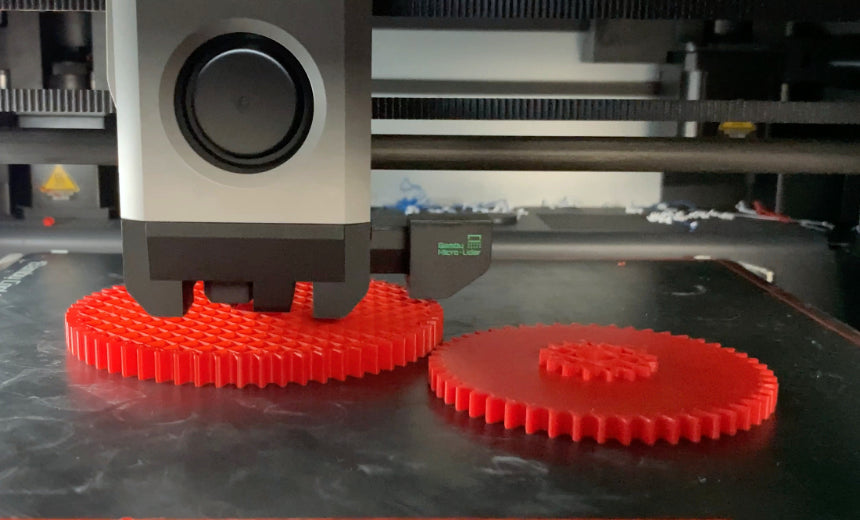
Once you have the object you want to print, you'll need to "slice" the file. 3D printers work by printing objects layer by layer. Slicers cut the 3D model into thin layers that the printer can print. The most commonly used slicer is Ultimaker Cura, a free and open-source software. Other slicers include Bambu Studio, Prusa Slicer, and Creality Slicer. They all are essentially the same with minor differences.
After downloading and installing Cura, or the slicer of your choice, you'll need to set up your printer profile. Simply choose your printer from the list, and you're good to go. While slicers have numerous settings, the default options work well for most prints.
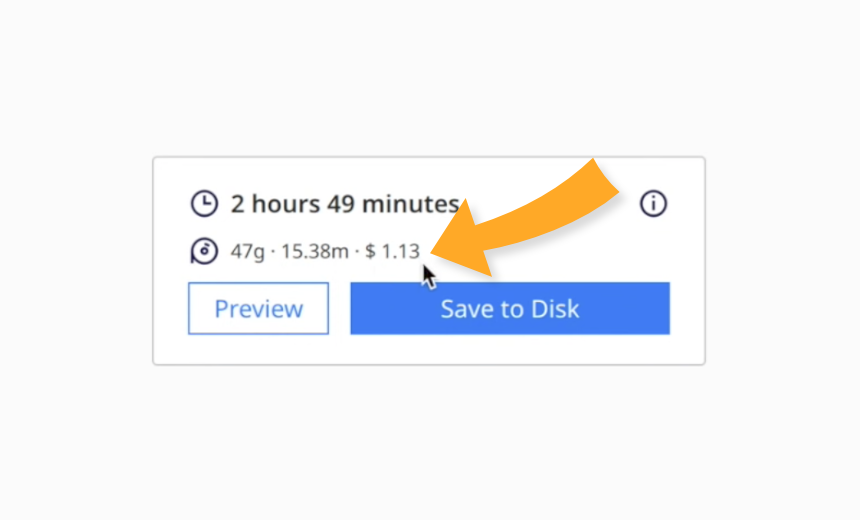
To slice your STL file, drag and drop it into the slicer program. The object will appear on the virtual 3D printer build plate. Take a moment to ensure the object's orientation is correct and decide if you need support material. Once you're satisfied, click the "slice" button.
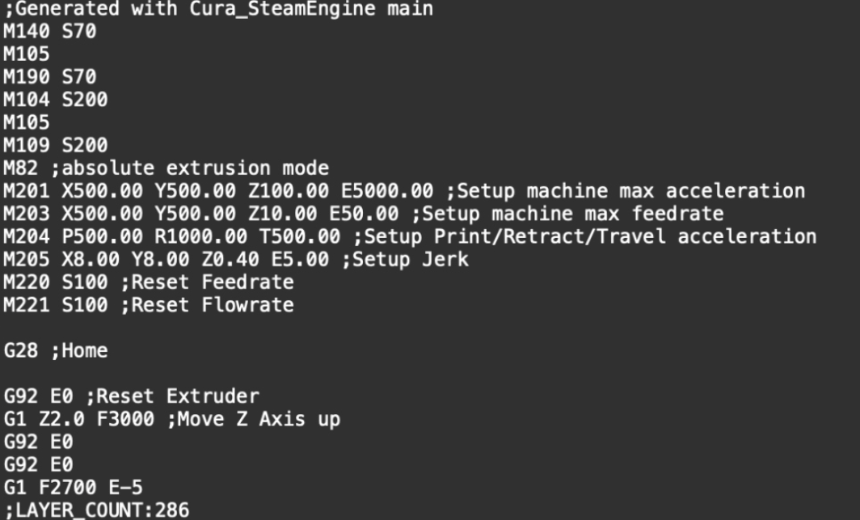
The slicer generates g-code, which is used by the 3D printer to print your object. You'll need to upload the g-code file to your printer. For older printers, this often involves saving the g-code to a micro SD card. For newer printers you can often print over the cloud or via WIFI.
For printing off an SD card, connect a micro SD card to your computer using a dongle or dock. When connected, the slicer will recognize the micro SD card, allowing you to save the file directly. If the slicer doesn't detect the micro SD card, save the g-code to your computer and manually transfer it to the SD card.
Once the g-code file is on the micro SD card, eject it from your computer and insert it into the 3D printer. On the printer's screen, navigate to the file and click "print." Before printing, ensure that the printer's bed is level and free from any grease. Applying a small amount of glue from a glue stick onto the build surface is often recommended.
That completes the entire 3D printing process, from start to finish. Of course, you may encounter various issues along the way. Feel free to explore our other articles for more information or consider enrolling in one of our courses for a more detailed walkthrough.
Happy printing,
-Steven