Many Creality printers, such as the Ender 3 and CR-10 do not come equipped from the factory with automatic bed leveling. Instead, the process of leveling one’s bed is performed manually, by the user, by manipulating the adjustment screws found in the 4 corners of the bed. Turning each of the screws either raises or lowers the bed, moving sections of the print surface close to the nozzle. Ideally, the process results in a z-offset that is consistent and accurate at all points along the bed. However, in some cases, you may find it difficult or impossible to get the bed positioned just right. Because the screws do not have infinite adjustment, it’s possible to wind up in a situation where each screw is at the limit of its adjustment, and yet the bed is still too high or too low! In these cases, don’t worry. The simple fix is to adjust your z-limit switch position.
The z-limit switch is a simple momentary switch located on the z-axis that lets the printer know when the printhead is nearing its lowest position. When the gantry of the z-axis bumps against the switch, the printer knows that the printhead should not be lowered anymore, or else it may collide with other components. The z-limit switch’s position is not perfectly defined however, and shifts in its location may result in the printer stopping the printhead at a position that is too high, or allowing it to drop to a position that is too low. Either of these will upset a user’s ability to properly dial in the bed position.
In the case that you find your bed is always too low, the solution may not be to attempt to raise the bed any higher, but rather to drop the printhead lower. This is done by lowering the position of the z-limit switch. When the z-limit switch is lowered, the printhead will move further downwards before making contact with the switch and coming to a stop.
If you find that your bed is adjusted to its lowest position, but is still too close to the nozzle, the z-limit switch will need to be raised, preventing the nozzle from coming too-close to the bed.
To adjust the position of your z-limit switch, first locate the switch. For most stock Ender 3’s, the switch is located on the left side of the printer (when facing the LCD display) on the outside of the vertical z-axis aluminum extrusion. Note that Ender 3’s with the automatic bed-leveling feature will not have a z-limit switch in this position. Instead, the z-limit switch will be found near to the printhead itself, and different adjustment instructions will apply.
Once the switch has been located, use a hex key (or Allen key) to loosen the two screws which hold the z-limit switch bracket in place. The z-limit switch should now move freely up and down. Next, use the bed adjustment screws to move the bed into a neutral position. The bed should be neither fully lowered nor fully raised.
How to level your 3D printer's bed:
3D printer bed leveling theory:
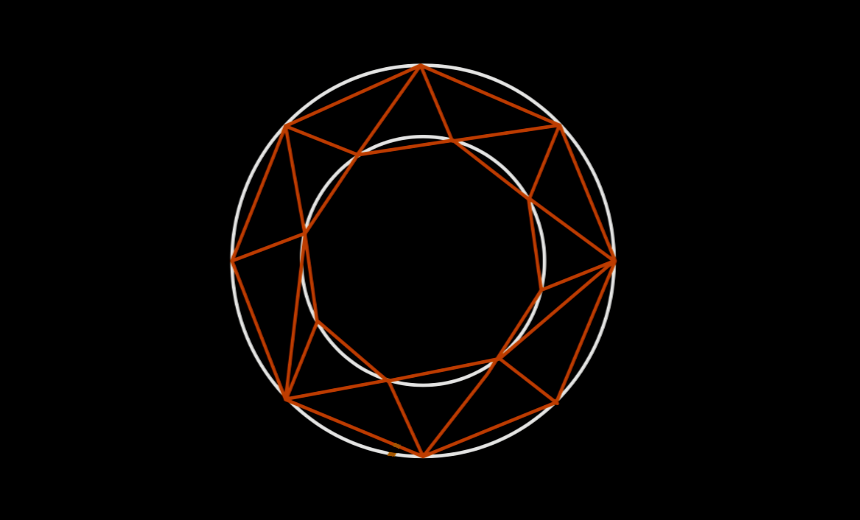
Check to see if your printer's bed is level with this resource:
https://3dprinteracademy.com/products/calibration-squares-3d-printer-bed-leveling